STEP 5: Secure Additional Partners
We recommend that you seek additional partners throughout the entire process of creating and activating the community schoolyard. Partners will make your project stronger, provide additional resources, and help to activate the space after construction.
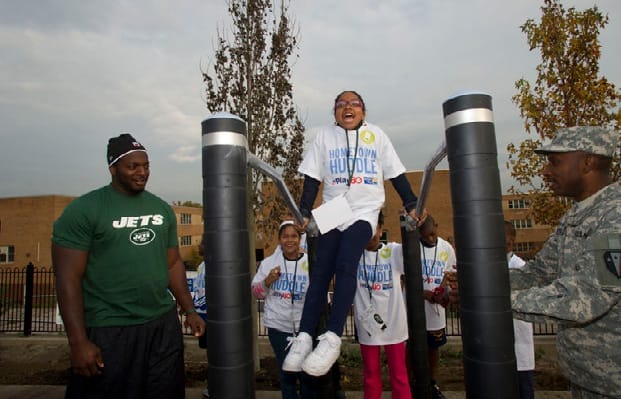
Physical education partners engaged early in the Community Schoolyards process may be
more likely to provide programming at your site after construction has been
completed. They may also be able to help locate funding.
© FRANCES M. ROBERTS
STEP 6: Secure a Designer
Your designer can help with community-based design activities, programming, budgeting, and rendering and advance you through all phases of the design and construction. You can secure a design consultant to help with all phases, or you can work through early concept designs with your partners in the community and bring in the professional designers later. A few options when looking for design assistance include the following:
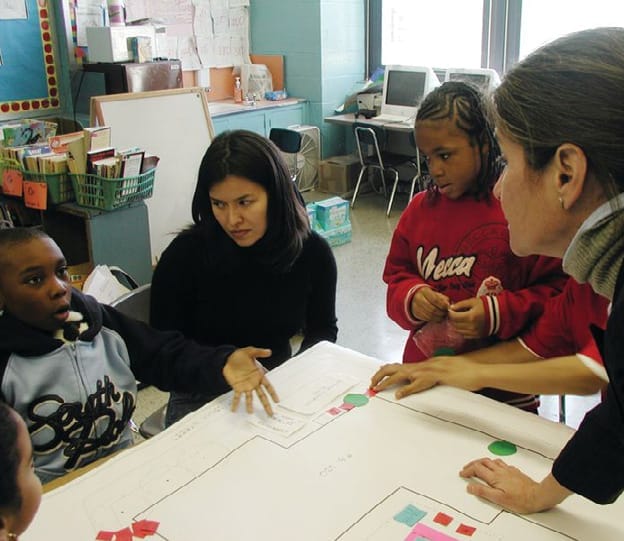
Your designer can help with everything from community engagement to
construction oversight. In this photo, a student at Abram Stevens Hewitt
School explains to classmates, The Trust for Public Land’s Julieth Rivera,
and landscape architect Melissa Ix why he chose a particular playground
design for the upcoming Daniel Garcia Playground in the Bronx.
© TROY FARMER
STEP 7: Community Vision Statement
A community schoolyard is an asset for the school and the entire community. A successful community schoolyard is designed in a comprehensive process that allows for multiple voices, priorities, and perspectives. Establishing a common vision will bring everyone together around a shared rallying point. Doing this early in the process will help everyone involved to unify on common goals through the design and development process.
At the Southwark School in Philadelphia, the diverse community established the vision “Our Park: Weaving Together Cultures,” in which the schoolyard serves as a park for the many ethnic groups who reside in the neighborhood. This vision will ensure that the final project will be well used and cared for into the future.
To develop a comprehensive vision, we recommend you work closely with the following groups:
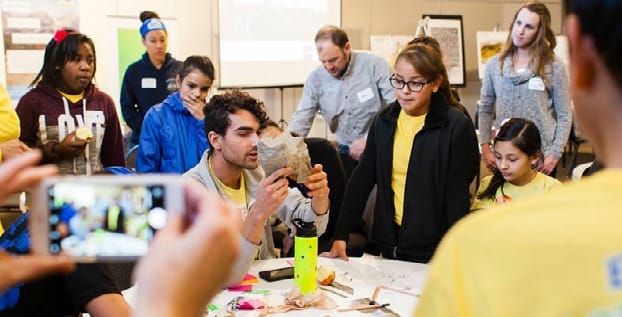
Establishing a shared vision for the project together with the larger school
community will help give your process direction as you move forward.
© LORENZO DAWKINS
STEP 8: Begin the Participatory Design Process
Your wish list will become the program for your schoolyard—a list of uses and considerations that will ultimately inform the final amenities that you include in your plan. For instance, a pre-K program may include a toddler playground. Developing a wish list is a creative process, and it is important to have multiple voices. Be sure to engage students, community members, and school staff in the process.
The wish list process can also be a good time to start collecting names and contact information for your Friends of the Playground group. While the steps of formalizing this group come much later in the process (STEP 23), if you start collecting contacts now, they will be ready to go as you get closer to opening your playground.
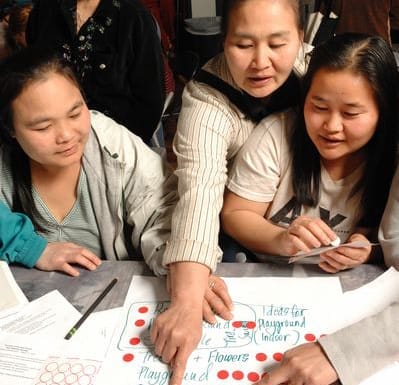
What will go in your community schoolyard? Vegetables or pollinator gardens? Soccer or basketball? There are a hundred great options, but figuring out your community’s top priorities will help to guide the design process in the next steps.
© DARCY KIEFEL
After community visioning, you will have a good sense of priorities regarding the final use of the schoolyard. To ensure that your vision for the yard includes something for everyone and will be well maintained, use this checklist to narrow down your wish list. Is your schoolyard design:
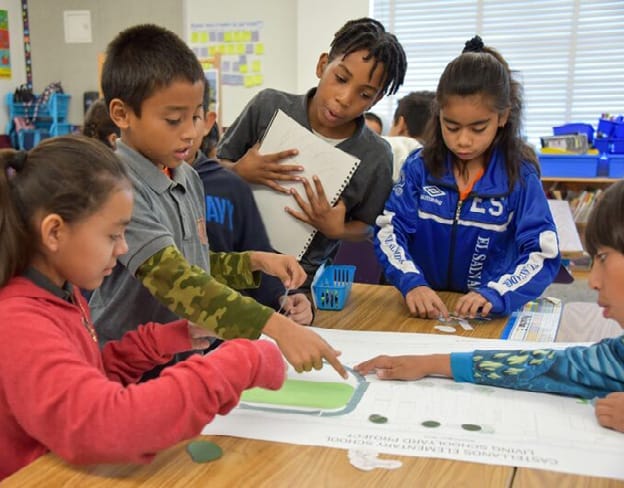
Engaging students in the design process builds a sense of ownership and pride.
© JOE SORRENTINO
STEP 9: Secure a Base Map
Your schoolyard program and vision will need to fit on the existing site. Your school district may have drawings on file. If so, you will want a physical copy of the full-scale drawings and a copy of the digital drawings, in CAD, an architectural software. If these drawings do not exist, you can work with your designer to develop a base plan from existing drawings. It is also advisable to get a site survey, including a markout of existing underground utilities.
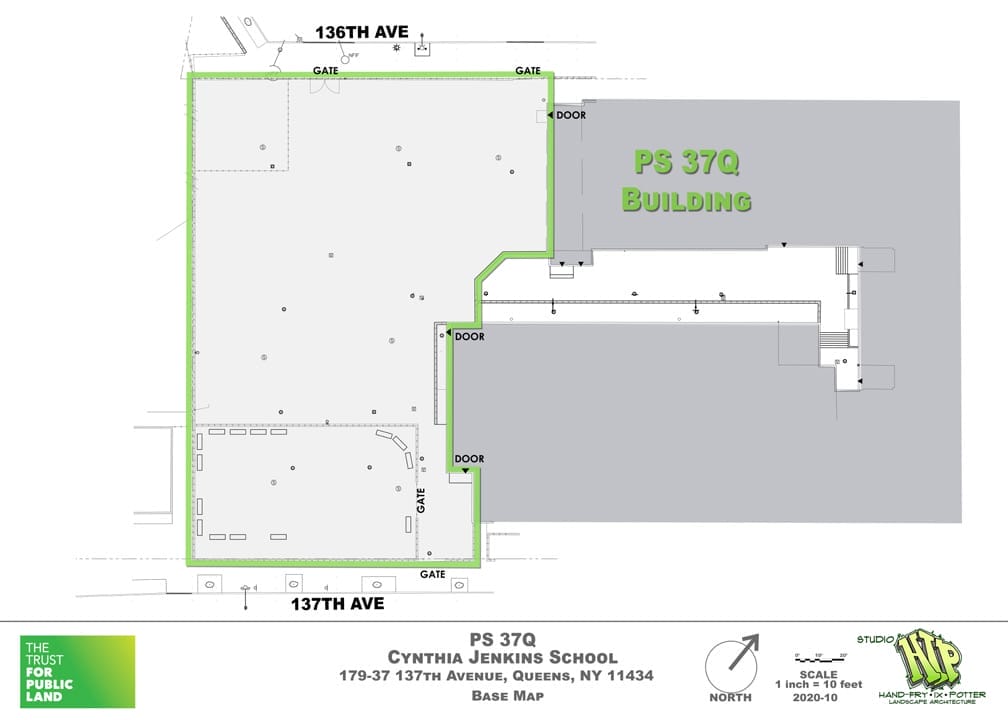
Finding a base plan for your site is necessary before getting started on your design. Ask your school district to provide a base map, and if it cannot, work with your designer to create one.
STEP 10: Create Draft Concept Plans
A concept plan is a rough design for your schoolyard, drawn in color and easy for a layperson to understand. It is not as precise as the finalized designs to be developed in STEP 12, but it should incorporate the elements from your program in a way that could realistically fit on your site. Plan to develop a couple of options for the school and community to review. Important considerations:
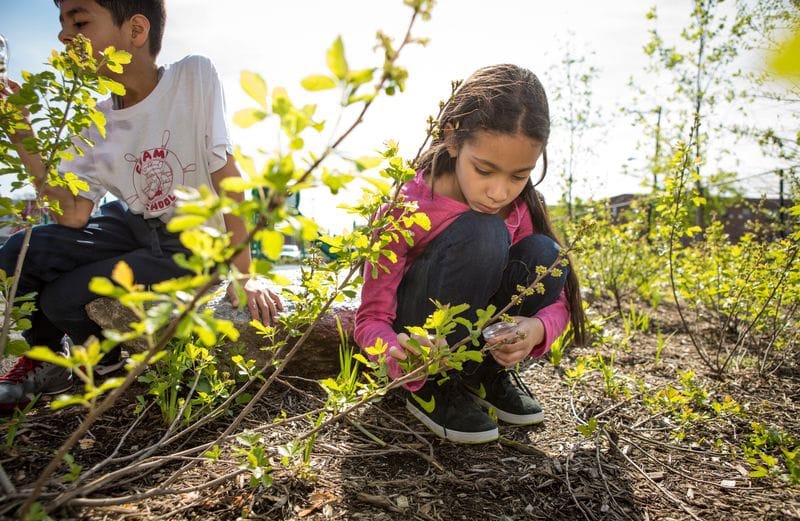
Kids need access to nature! Nature play and garden classrooms are a great way to infuse nature into schoolyard use.
© JENNA STAMM
STEP 11: Concept Options Reviewed and Refined by Schoolyard Community
Bring concept options to the schoolyard community (school staff, students, parents, teachers, partners, and community members) and solicit feedback. It is a good practice to find a forum where everyone can meet once or twice in the same place. This will help bring people together and highlight shared priorities. Solicit responses to the design options so your designer can make adjustments. Once you understand which elements of each option community members like and don’t like, you can combine different elements to incorporate the best of every option.
20
STEP 12: Finalize Concept Design, Cost Estimate, and Project Budget
Once the community has selected a preferred design direction, combining favored design elements from the earlier concepts, it is time for your designer to develop the final concept plan, synthesizing the community’s input into one final rendering.
Once the concept design is complete, your designer should create a construction cost estimate. This will in turn help you to create your project budget. Your project budget is the combined cost of the construction and the design services and testing. Your project team should keep an overall project budget that includes the construction cost estimate plus all the costs associated with design, including professional services for design, survey, environmental engineering, and testing. Your project budget should include both design services and the capital budget. The capital budget is the cost to do construction; this will include area-specific breakouts of construction cost, line items for demolition, materials, labor, general conditions, overhead and profit, and contingencies.
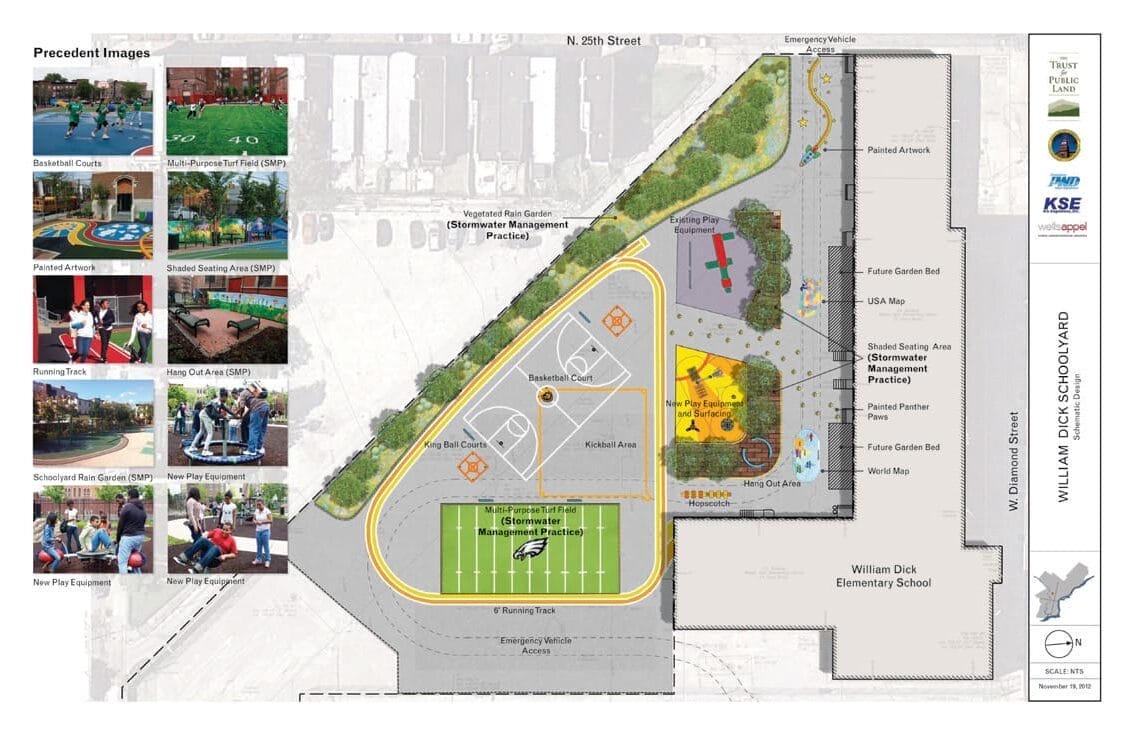
Using the feedback received in the previous step, work with your designer to finalize the concept design.
STEP 13: Seek Concept Design Approval from Your School District
Submit your concept plan, preliminary budget, and letter of support from your principal to the approving authority at the school district. The approving authority will likely be high-level staff from the capital program department or construction authority. The school district may want to include staff from risk management in the review. This step is essential in securing the following:
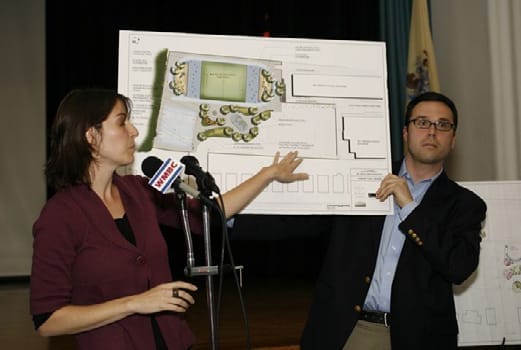
Once the concept plan and budget are finalized, it is time to ask the school
district to sign off. © J. AVERY WHAM

